 This article may contain quest spoiling information!
- This quest will require you to locate the 4 fragments of the solar symbol, bless them and fuse them back together.
- The fragments can be gathered in any order.
Blue Solar Symbol Fragment 
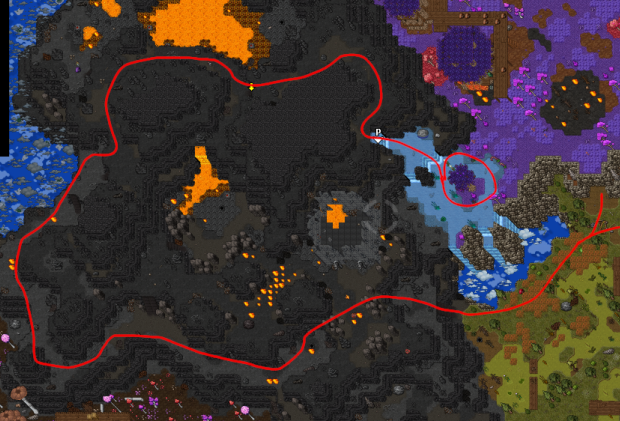
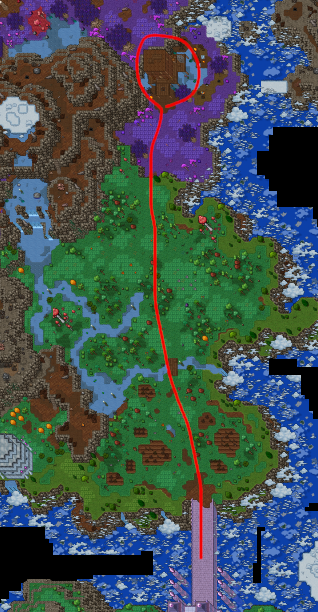
- Go up the waterfall north of Falcon and take the passage to the swamp and continue as shown below.
- If the waterfall is un-walkable you have to continue north, down the stairs, west into the mountain and find your way up to the top of the waterfall where you can push a large stone on the water to stop the flow and enable passage from below.
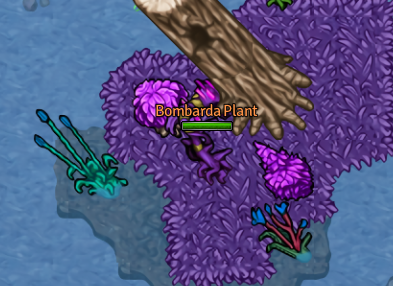
- Travel over the black mountain as shown (levitating down at the end) until you find the Bombarda Plant.


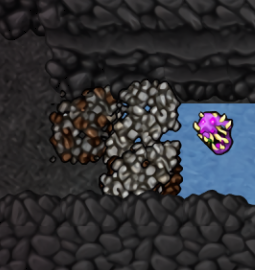
- Kill the Bombarda Plant, it will turn into a bomb which you have to quickly drag west up the waterfall to the rubble and stones blocking the passage into the mountain at the levitate spot where you came from. The bomb explodes after 20-30 seconds, so if you don't do it by then you will need to wait about 5 minutes for the plant to respawn so you can get it again.

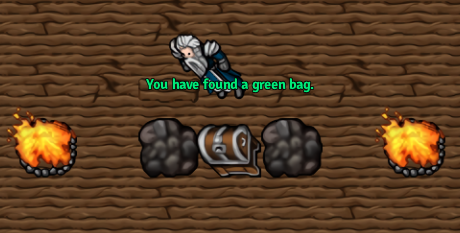
- Enter the cave to find a chest.

Red Solar Symbol Fragment 
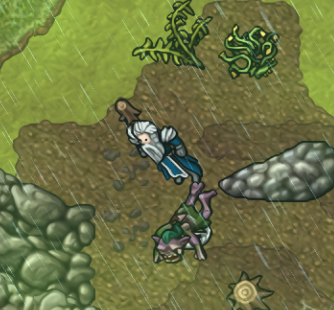
- Starting from the swamp once again, make your way as shown below to find Key 9800 inside the body of a dead grappler.
 
- Now go back west over the bridge following the path below into the Boggle spawn.
- Once down, follow the one-way cave passage until you reach the next image.


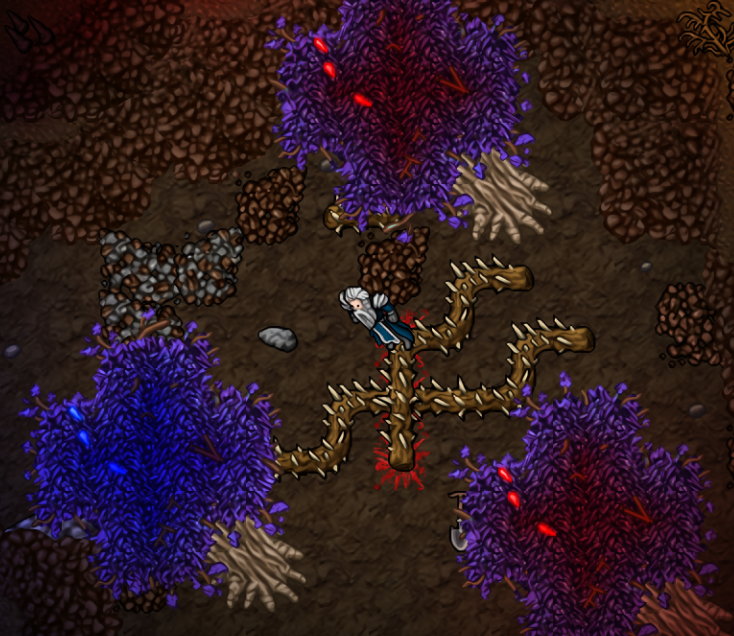
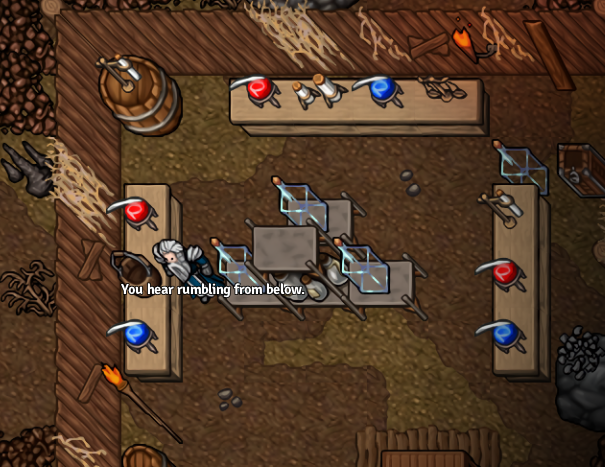
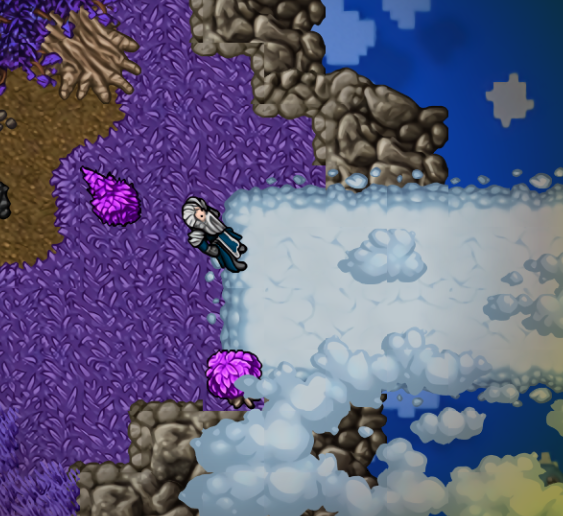
- Go down the pickhole and head west down to the purple trees, you will need to check the color patterns of the fireflies on the tops of the 3 trees and then match the firefly bottles upstairs to the same order of colors by using the vials with blue and red colors next to them.


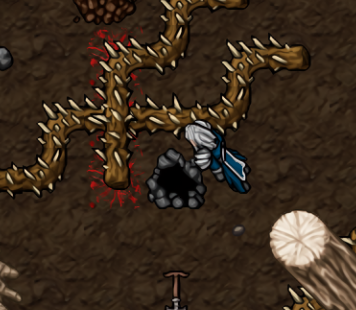
- Once done, you can use a pick to open a hole further down on the floor with the purple trees.

- Go downstairs and north-east to find the Firefly Spirit, simply say 'hi' and the spirit will thank you for freeing it and its kind from their prison and reward you with:
 Red Solar Symbol Fragment Red Solar Symbol Fragment
Yellow Solar Symbol Fragment 
- Before collecting this fragment, you'll need to get a Water Bucket dropped by Water Elementals.
- This is not a regular bucket filled with water, it has to be looted.
- Go directly east of Lemera's house and wait for the cloud bridge to appear so you can cross to the east (it's only up while it is raining in the area, but it rains often there).

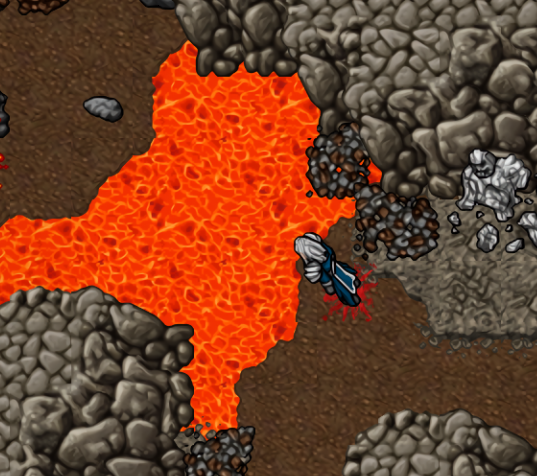
- Cross the bridge and follow the only path available until you reach lava as shown below:

- Use the Water Bucket on the lava to cool it and make it walkable, it will stay open most likely until server save (6+ hours confirmed).
- Follow the only way to go until you reach a chest and obtain:
 Yellow Solar Symbol Fragment Yellow Solar Symbol Fragment
Green Solar Symbol Fragment 
- For this fragment, the first thing you need to do is collect 2 mushrooms:
- Once you have both mushrooms, take them to Lemera:

- She will use them to create a Disenchanting Powder and instruct you to use it on the Wandering Bronze Fungi which can be found in 1 of 4 possible spawn points every day, 2 possible spawns are in the north fungi spawn and 2 are in the south one.
- Once you have used the powder on the wandering mushroom, it will turn into a Freed Boggle, say 'hi' and as a thank you for disenchanting it it will reward you with:
 Green Solar Symbol Fragment Green Solar Symbol Fragment
  Solar Symbol Solar Symbol  
- To proceed with blessing the fragments, you will need to have the ability to shapeshift into a rotworm and travel through rotworm holes, learned after killing Ice Queen Xatra in Act III of The Explorers Guild faction.
- You also need to bring a Simple Dress, Silver Amulet and a Mirror for this part of the quest (one set of these items will work for multiple people).
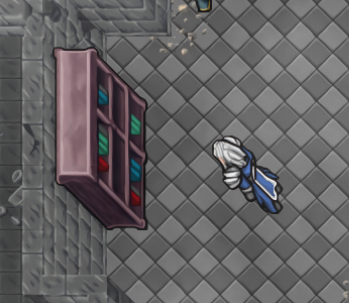
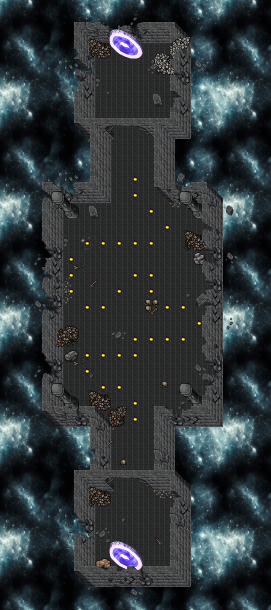
- Travel to Ghibli Ruins with the flying ship and follow the path as shown until you reach the bookcase at the top of the tower, note the colors and order of the books in the bookcase, they change with every server save (6 books on each shelf, the colors can be blue, green, red and black/grey).
 

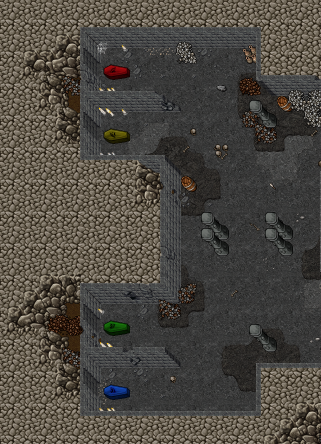
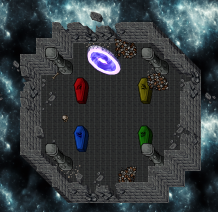
- Now go back west and further up the south-west tower, levitate up to the broken floor above and levitate down to the west, then follow the one way path until you reach a room with 4 colored coffins, right-click any one of them and you will be teleported to a special dimension where you will need to finish several puzzles to reach your goal.
  
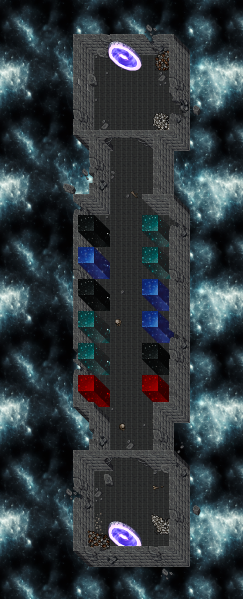
- The first puzzle will require you to match the magic walls (by right-clicking them) to the colors and order that matches the books inside the bookcase you checked earlier (remember this changes every server save so you need to check the bookcase yourself).
- This is how the solution looks for this particular case:

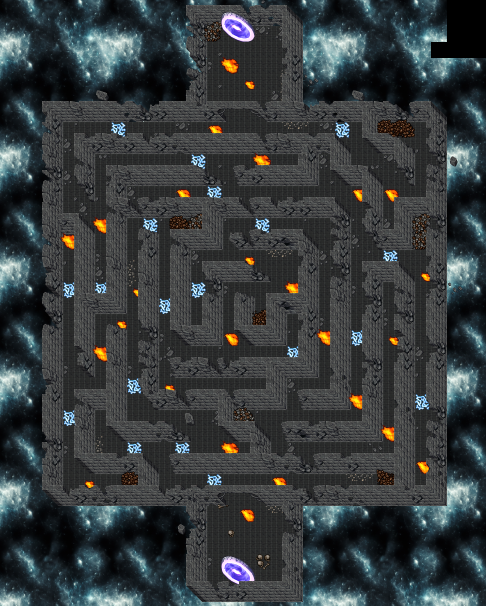
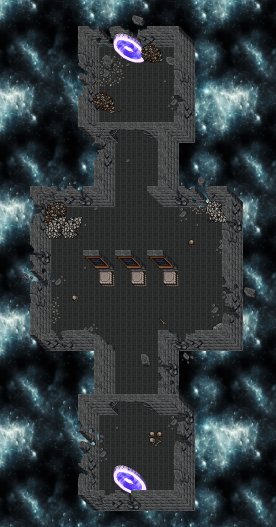
- Now you need to run through a maze within a certain time limit (20 seconds? not sure), if the time runs out you get teleported back to the start of the maze.

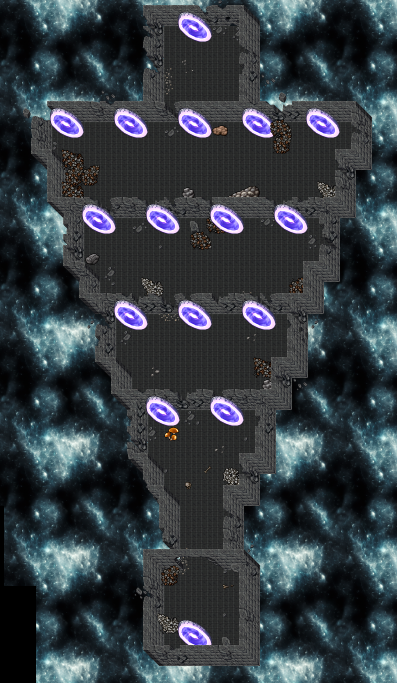
- Next is a different kind of maze, you need to choose the right portal at every step to proceed to the next set of portals. You will get teleported to the start of the maze if you choose the wrong one.

- Next is an invisible maze. In this one, if you make a wrong step you have to start over, so simply keep trying ways to walk and place coins on the correct tiles and slowly make your way to the end.

- Next you need to place the Simple Dress, Silver Amulet and Mirror on the stone pedestals in front of the blackboard in that order to unlock the way (unsure if the order changes with each server save).
- Note: This information is irrelevant if you are following the spoiler. The scrambled texts on the blackboards, once deciphered, say which items are required here. The books containing the deciphering key can be found around the Floating Islands.

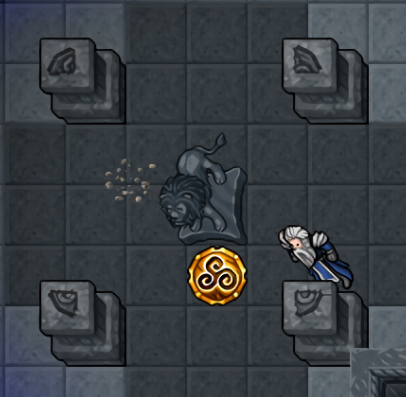
- You have completed all of the challenges. Now place the solar symbol fragments on top of the 4 coffins with the corresponding colors. Once you do, they will become blessed solar symbol fragments, make sure to collect them again.
 
- Leave this place and find your way to Cloud Island, accessible by walking into a tornado portal north-east of Lemera's house far north of Falcon.
- Find your way to the top of the palace in the middle of Cloud Island, you will find 4 pedestals with inlays matching the shapes of the solar symbol fragments, place them accordingly to fuse them and create the Solar Symbol.

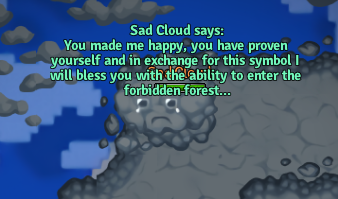
- Now go back down and into the basement of the palace, exit to the north-west to find a Sad Cloud. Tell it about the 'solar symbol'. The sad cloud will consume the symbol and give you instructions for the next step.

- For this next part, you will need to craft a Blessed Wooden Stake, Tristan the blacksmith in Falcon can craft it for you from 50 Pixie Dust and 15 Pegasus Hoofs.
- Make your way up the waterfall far north of Falcon, into the mountain and through the home of the fairy queen. Make your way into the forbidden forest to find the immortal vampire Kargug. He is not too strong, defeat him and use the blessed wooden stake on his regenerating remains to obtain an Ancient Vine Seed (multiple people can use their stake on the same remains).

- With the seed in your possession, travel to the home of the Bronze Fungi (the south spawn) to find a patch of earth where the seed can be planted.
 
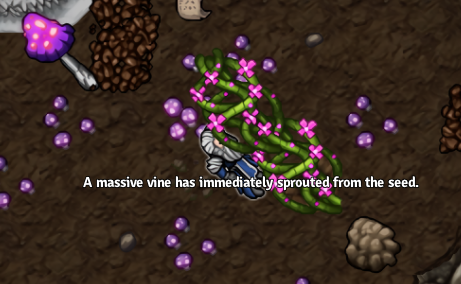
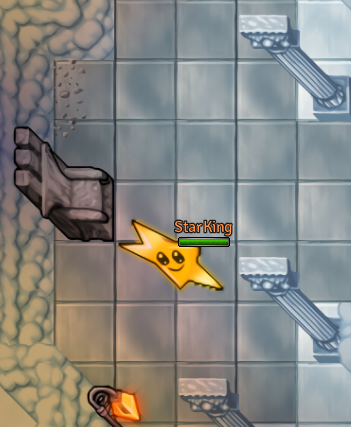
- Use the seed there to immediately grow a huge vine that reaches up to the clouds, right-click it to ascend. Once up on the cloud, enter the building there to find the fabled Star King, say 'mission'.
 

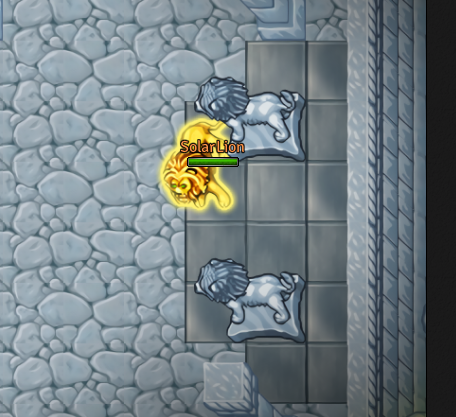
- The Star King will instruct you to visit the legendary Solar Lion, the deity that watches over the floating islands. He can be found on a cloud island north-east of Falcon in the base floor of a great tower.

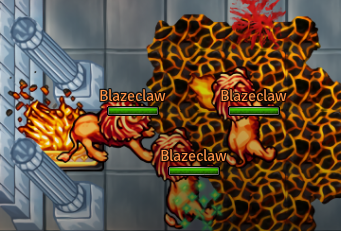
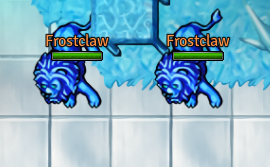
- Speak to him and he will thank you for weakening the influence of the evil vampire Kargug which had fragmented his power. He will explain that the Frostclaws and Blazeclaws which now infest his tower are manifestations of his fragmented power and ask you to bring him 200 of their Frostmanes and 200 Blazemanes to restore his power.
 
Once you bring him the creature products, the Solar Lion will grant you the first Elf Outfit addon.
|
