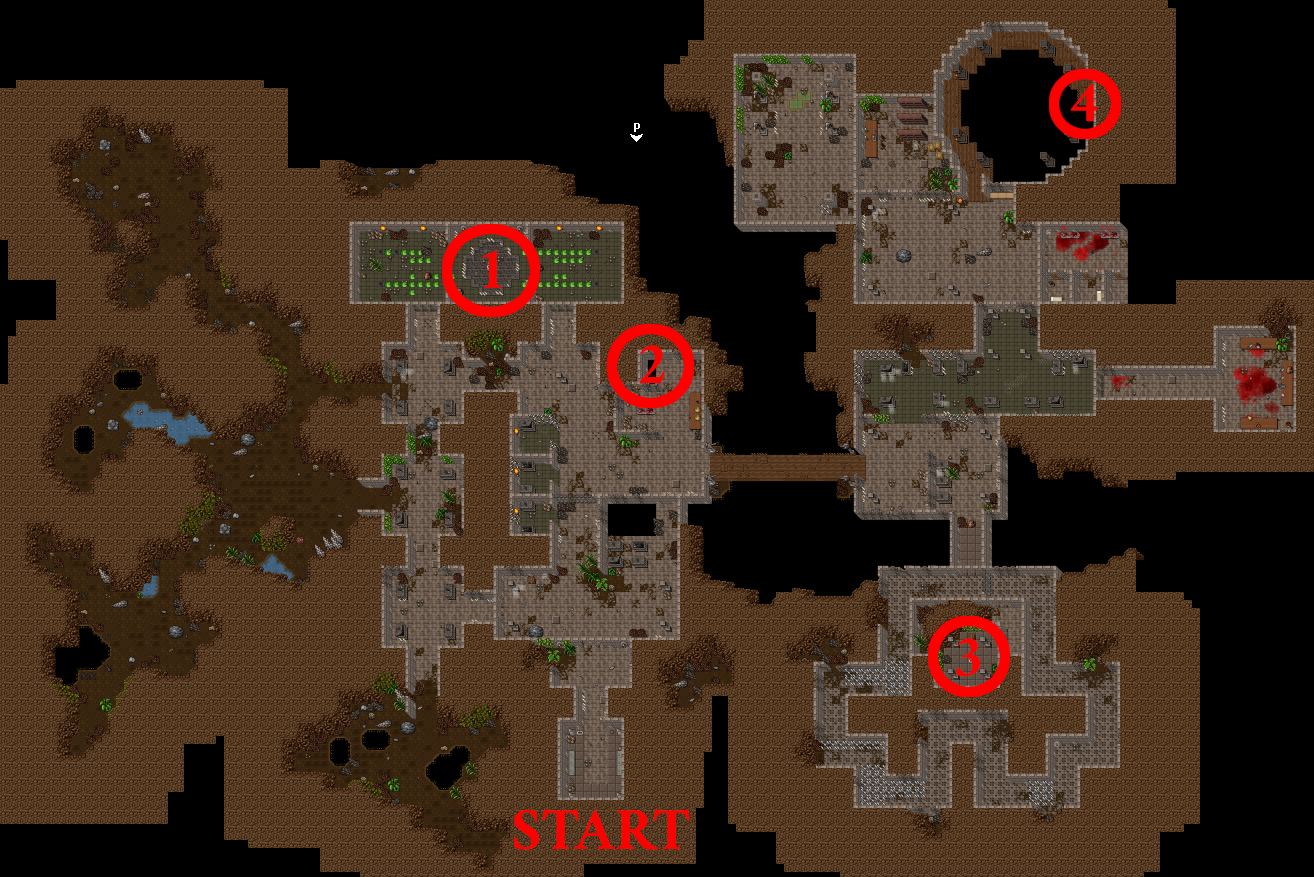
Map of the dungeon:

Cobra Statue
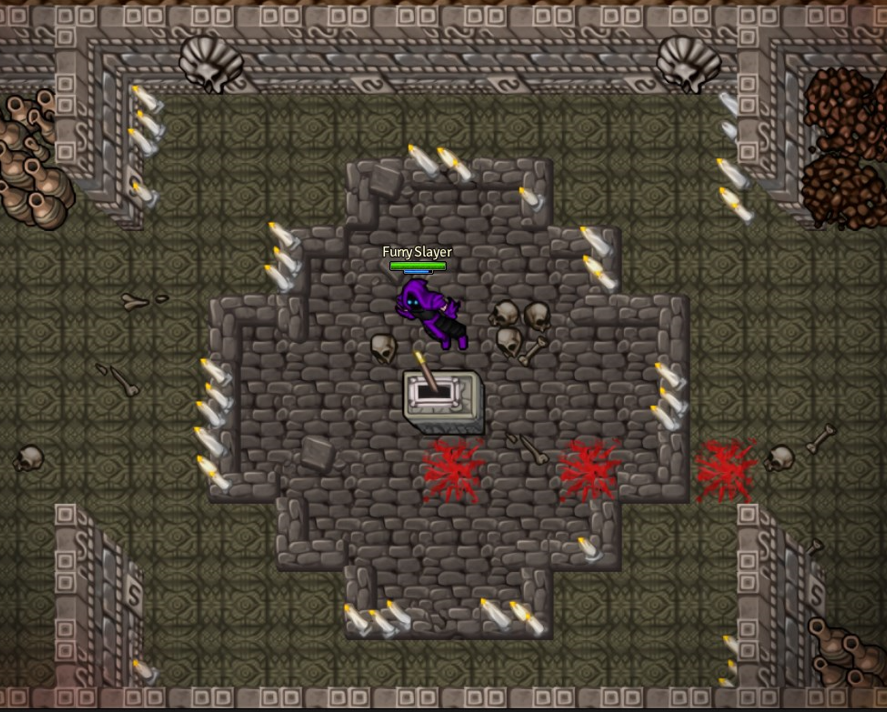
To progress further you need to click the lever.
A cobra statue will spawn in its place and the room will close off.
Ancient slimes will start spawning and coming from both sides.
If 10 of these slimes step on the grey area in the middle, you will be teleported out of the dungeon.
The easiest way to kill them is with Great Fireballs, as they are spread and ignore players.
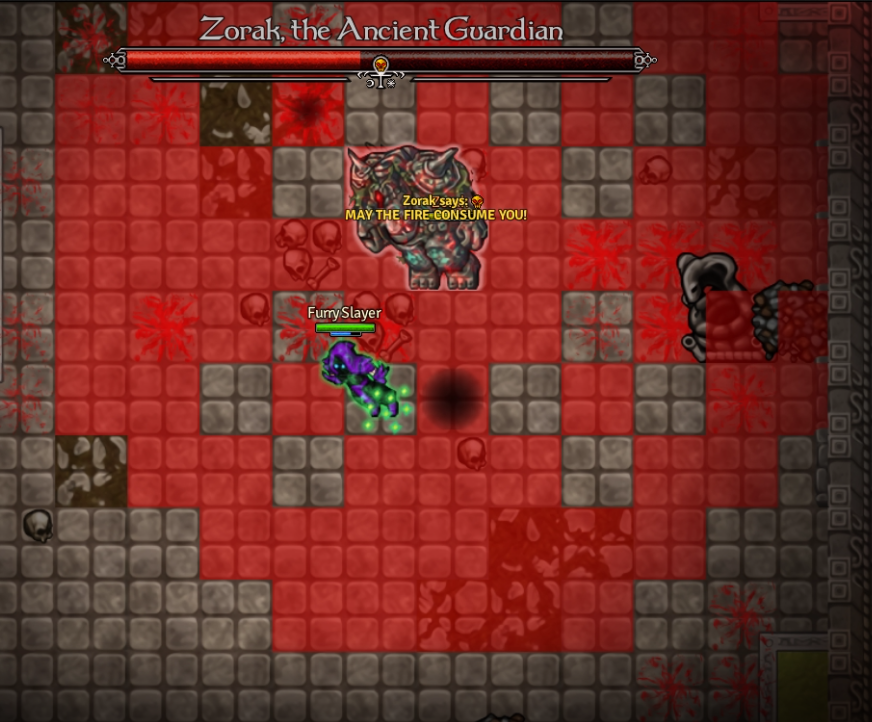
Zorak, the Ancient Guardian
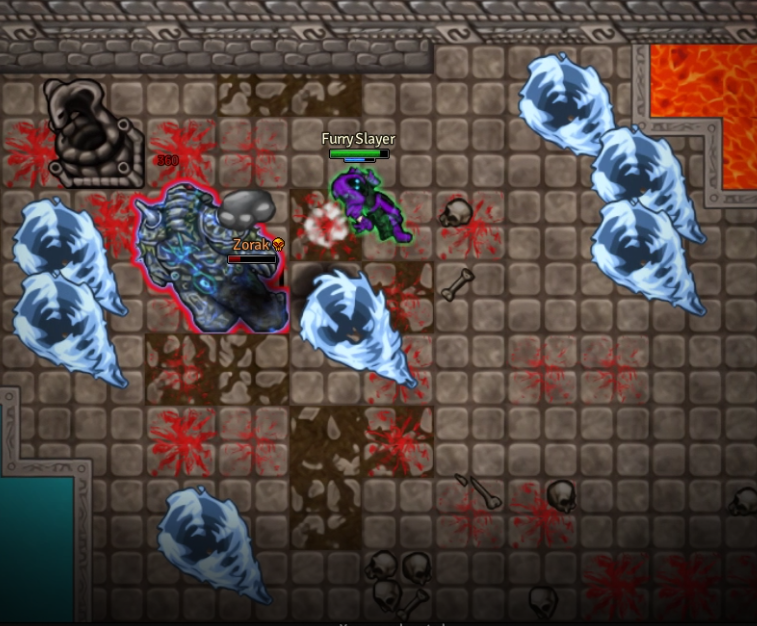
This boss has 50% resistance to physical damage and its elemental immunity depends on its aura (colour).
The boss' attack types also depend on the aura it has at that time.
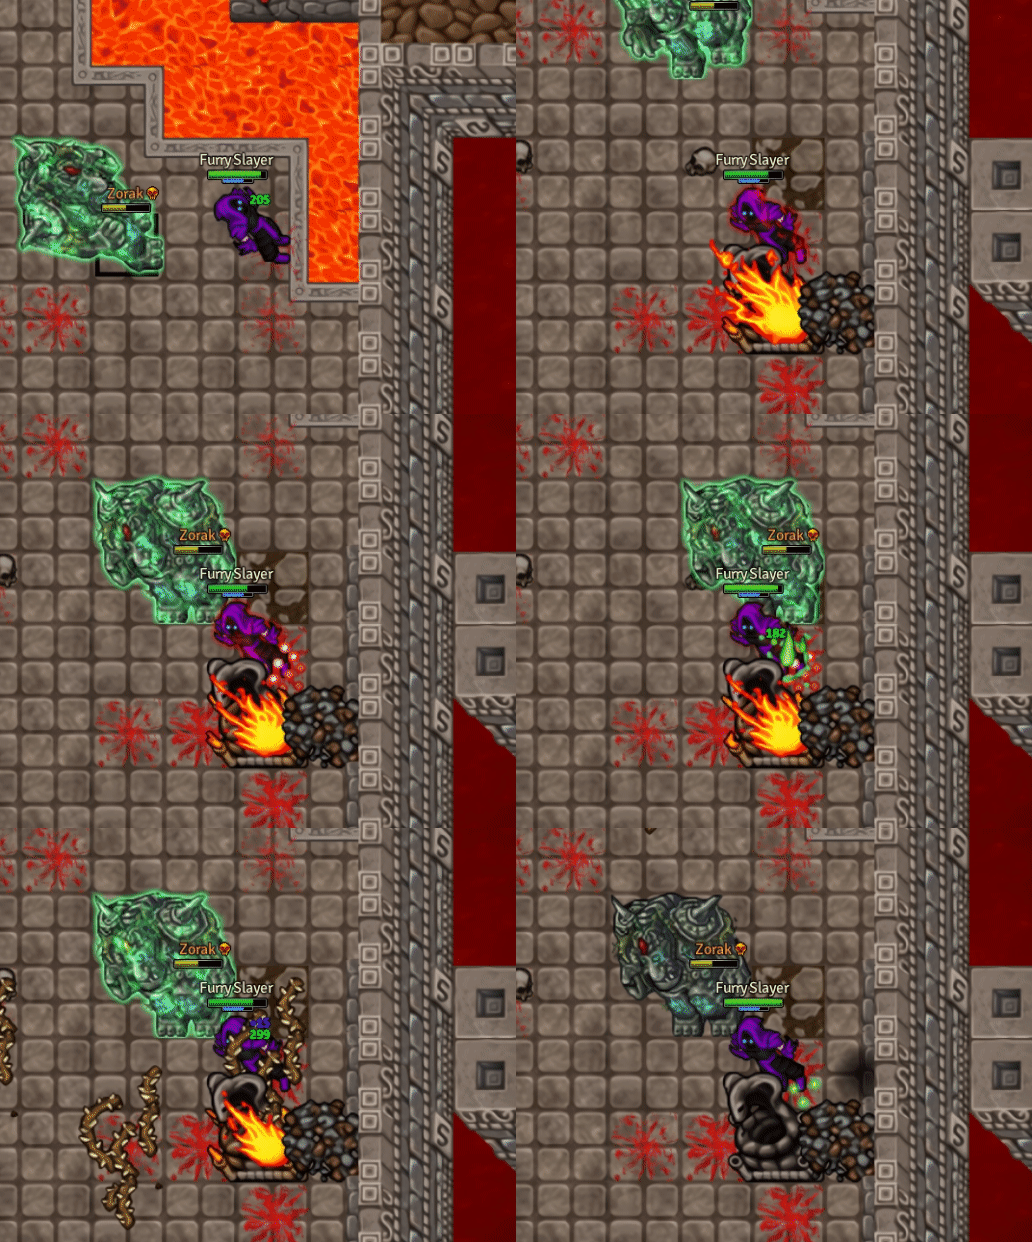
You can kill it efficiently by filling the fountains with the correct fluids.
When the boss is below 50% HP, it will start randomly throwing rocks around.
Click on the fluid pool, when your aura changes go stand right next to any fountain.
After a few seconds of waiting the fountain will explode, dealing 4000-8000 damage to the boss.
If you use the wrong fluid, the boss will heal!
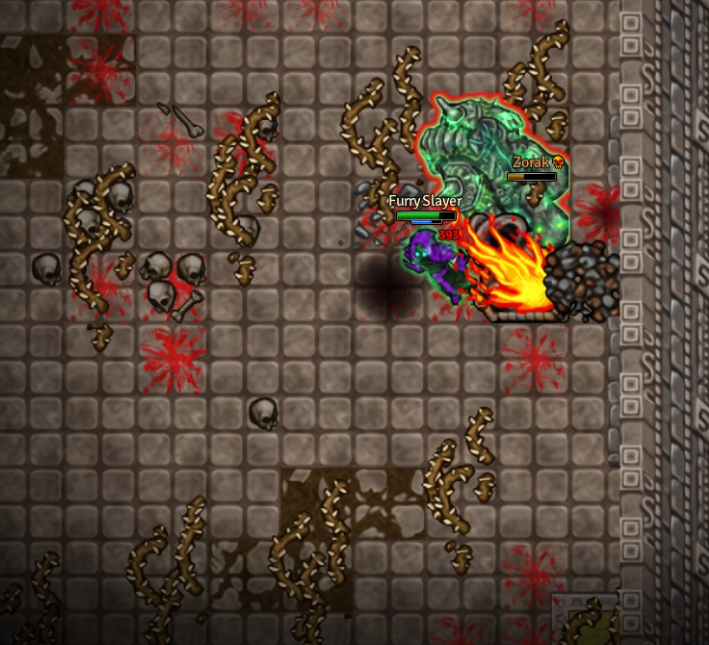
Green Aura:
Spawns vines coming from the floor of the arena.
They deal damage and paralyze.
The correct fluid to use is lava.
Blue Aura:
Spawns water tornadoes that randomly move across the arena.
The correct fluid is swamp.
Red Aura:
Announces a big explosion.
The correct fluid is water.
Spikes
To open the next gate, you need to use the lever located in the tunnel with spikes.
Stepping on the spikes will teleport you to the beginning of the tunnel.
After using the lever, if you step on the spikes you will be teleported into the room with the lever.
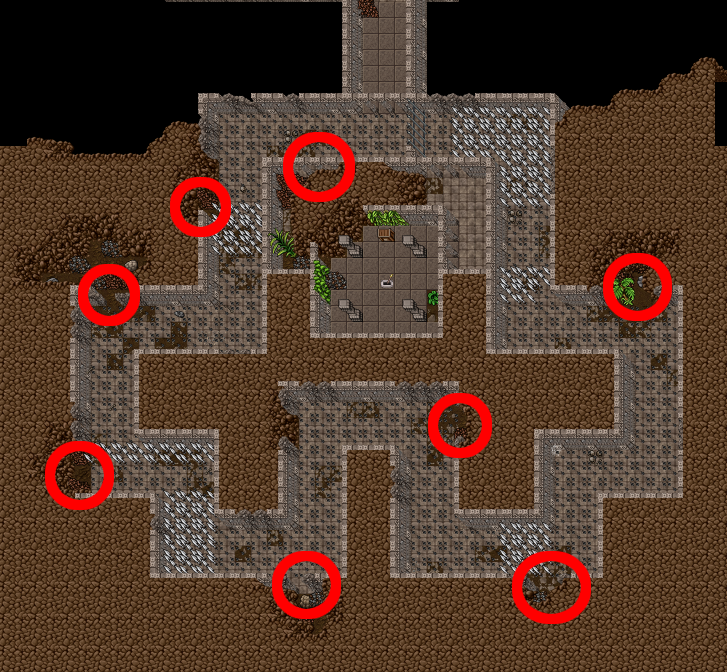
To pass through safely, just step into the safe spots to avoid spikes.
Safe spots:

Arena
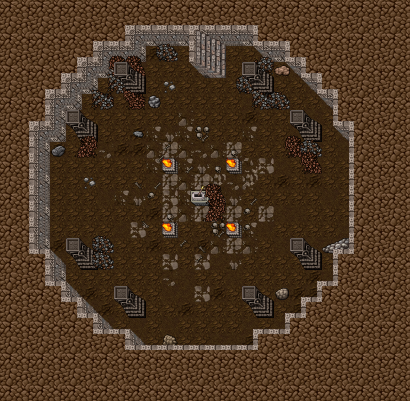
Next step is pulling the lever inside the arena.

The stairs will disappear and you will face waves of creatures spawning every 30 seconds:
4 Cultist Brutes
4 Giant Skeletons
4 Cultist Hexers
4 Giant Revenants
4 Cultist Blooddrinkers
4 Undead Reapers
Agavan's Heads
This is the final boss of the dungeon.
The boss itself is 4 different immobile creatures.
You have to attack the main head in the middle, the rest are immune to all damage.
All these heads annouce their AoE spells so you have to pay attention.
Their damage does a high % of your total health pool, being hit by two at once is most likely an instant kick from the dungeon.
HEAD BEHAVIOUR:
Main Head:

This head will damage all squares in front of it 4 seconds after rotating.
Blue Head:

This head will damage all squares except the ones around itself (Fireball-sized area) 4 seconds after it starts glowing.
Green Head:

This is the only head that moves.
It will teleport between the left and right sides of the arena, always in the same squares.
Damages squares in a wave shape 4 seconds after it starts glowing.
Red Head:

Damages squares in a huge area around itself 4 seconds after it starts glowing.

